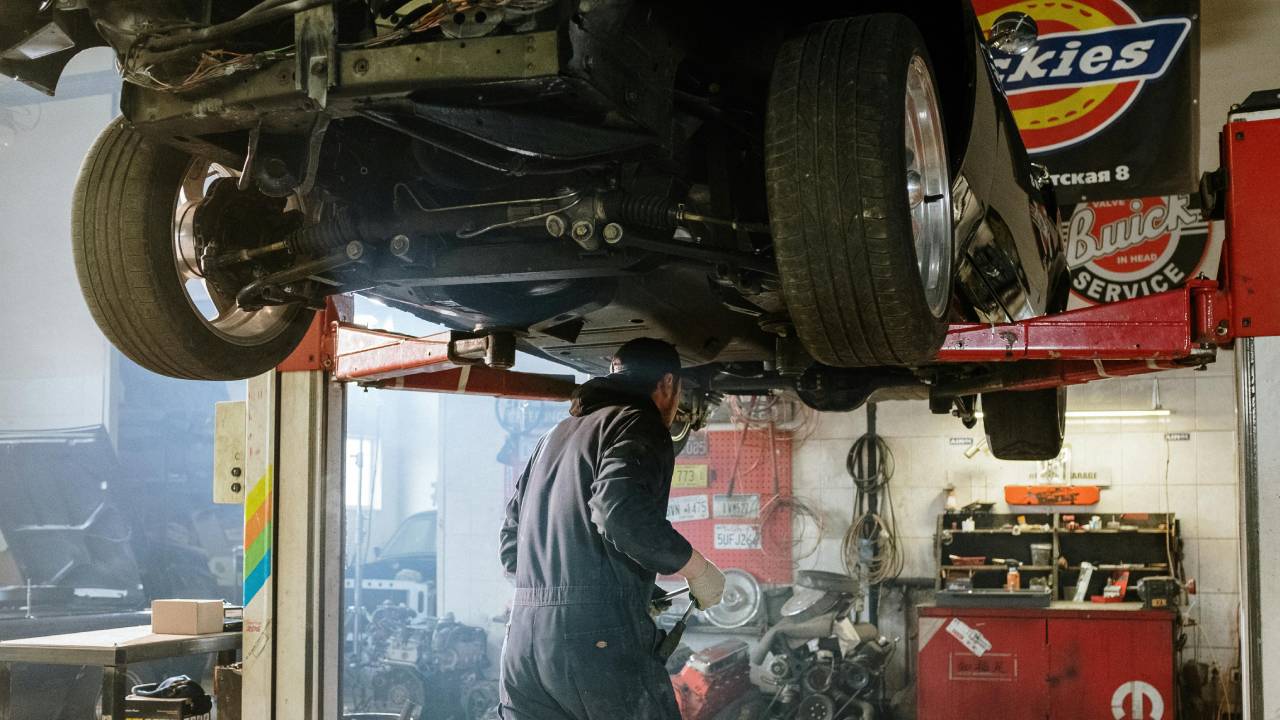
Gone are the days when every vehicle mishap required a trip to the local auto body shop. Thanks to advancements in tools and materials, car enthusiasts, DIYers, and proud vehicle owners alike are taking repair jobs into their own hands. Whether you’re eager to save money, learn a new skill, or simply enjoy the satisfaction of a job well done, DIY auto body repairs can be incredibly rewarding.
But before you grab a wrench, it’s important to understand the extent of what can—and should—be done at home. This guide will walk you through the tools, techniques, and precautions to ensure your DIY auto repair experience is a success.
Necessary Tools and Equipment
Before you get started, having the right tools makes all the difference. Here’s a rundown of essential equipment for basic auto body repairs, along with their uses:
- Body Filler (e.g., Bondo): For leveling out dents and scratches. A must-have for smoothing surfaces before painting.
- Sandpaper (Various Grits): Used for prepping the surface and removing scratches or old paint.
- Spray Primer and Paint: Essential for refinishing the treated areas while perfectly matching the original color of your car.
- Rubber Mallets and Dent Pullers: Tools designed to help you tackle dents without causing additional damage.
- Rust Converter and Wire Brush: Stops rust from spreading and cleans affected areas before repair.
- Panel Removal Tools: For safely removing interior and exterior panels without damage.
- Safety Gear: Including gloves, goggles, and a mask to protect against fumes, particles, and sharp tools.
If you’re unsure about how to use these tools, check out tutorials online or refer to your vehicle’s service manual for manufacturer recommendations.
Common DIY Auto Body Repairs
There are three primary types of auto body repairs you can safely tackle yourself at home. Here’s how to approach them step by step.
Dents and Scratches
Minor dents and scratches are some of the most common damages vehicle owners repair on their own. Here’s a simple method to get the job done:
- Assess the Damage: Identify if the dent or scratch has affected just the surface or penetrated deeper layers.
- Repair Dents:
- For shallow dents, use a dent puller tool or a suction cup to pop them out.
- For more stubborn dents, apply heat with a hairdryer and immediately cool the area with compressed air to reshape it.
- Apply body filler if necessary, smoothing it out with a plastic applicator.
- Fix Scratches:
- Sand the area with fine-grit sandpaper until it’s smooth and flush with the surface.
- Apply a thin layer of primer followed by matching paint and clear coat to finish.
Rust Spots
Rust, if neglected, can spread quickly and compromise your vehicle’s structural integrity. Here’s how to tackle those pesky rust spots at home:
- Identify Rust Early: Look for bubbling paint or reddish discoloration, especially near wheel wells and undercarriages.
- Prep the Rusty Area:
- Scrape off loose rust using a wire brush or sandpaper.
- Apply a rust converter to neutralize the remaining corrosion.
- Refinish the Area:
- Use primer and touch-up paint to match the car’s original aesthetic.
Replacing Panels and Parts
Sometimes, damage requires replacing instead of repairing. Fortunately, swapping out certain panels and parts can often be done at home:
- Find Replacement Parts:
- Order original equipment manufacturer (OEM) parts for perfect compatibility.
- Ensure you’re using reliable third-party vendors or local auto yards.
- Remove the Old Panel:
- Use panel removal tools to pry off parts like bumpers, fenders, or mirrors without scratching nearby surfaces.
- Install the New Panel:
- Secure the part using screws or adhesive as required, ensuring a snug, flush fit.
Safety Considerations
DIY auto body repair can be fun, but safety should always be your first priority. Neglecting essential precautions can result in injury or even damage to your vehicle.
- Protect Yourself:
- Always wear gloves and safety goggles to guard against sharp edges and chemicals.
- Use an appropriate mask to prevent inhalation of dust and fumes from rust removers, primers, and paints.
- Set Up Your Workspace Safely:
- Work in a well-ventilated area away from potential fire hazards.
- Keep your tools organized to minimize accidents.
- Follow Equipment Guidelines:
- Adhere to the manufacturer’s instructions to ensure optimal performance of tools and materials.
When to Seek Professional Help
While rolling up your sleeves to tackle auto body repairs is exciting, knowing when to call in the experts can save you from costly and frustrating mistakes.
- Structural Damage: If your vehicle’s frame or underlying structure is bent, professional equipment is required to ensure it’s repaired accurately.
- Extensive Rust: Corrosion that has spread beneath panels often requires specialized interventions beyond what DIY products can offer.
- Deep or Wide Dents: Large dents that affect the integrity of your car’s bodywork should be addressed by professionals to restore safety and reliability.
If you’re unsure about the severity of the damage, don’t guess. Seek an assessment from a trusted auto body shop.
Takeaways and Next Steps
DIY auto body repairs shouldn’t just save you money—they should be enjoyable, too. From smoothing out minor dings to stopping rust in its tracks, working on your vehicle can be both rewarding and cost-effective.
Remember to start small, invest in the right tools, and always prioritize safety. And when repairs go beyond your expertise, don’t hesitate to contact a professional for help.
Got a repair success story or a tip to share? Leave a comment below and explore more automotive guides on our site to enhance your skills even further.
 Skip to content
